Creative Minds 𖹭 Happy Hearts

Building a Model of an Atom with Craft Materials
Clay balls, pipe cleaners, and foam pom-poms make building a model of an atom one of the most hands-on ways to teach atomic structure at home.
Building a model of an atom gives your student a concrete way to understand what protons, neutrons, and electrons actually do and where they sit. The sheet walks through a six-step procedure: choosing an element, rolling clay balls for the nucleus, bending pipe cleaners into electron shells, placing yellow pom-poms for electrons, labeling every part, and verifying the count. The atom model key uses a clear color code, red for protons, blue for neutrons, yellow for electrons, so your grades 4 to 8 homeschooler can self-check without guessing.
This lab fits naturally inside a chemistry or physical science unit study on atomic structure, and it works just as well as a standalone introduction before moving into the periodic table. An observations box and a conclusion prompt require your student to reflect on what they noticed during the build, not just follow steps. The extension challenge, modeling additional elements and comparing particle counts, pushes more advanced students to connect the model to real elemental data.
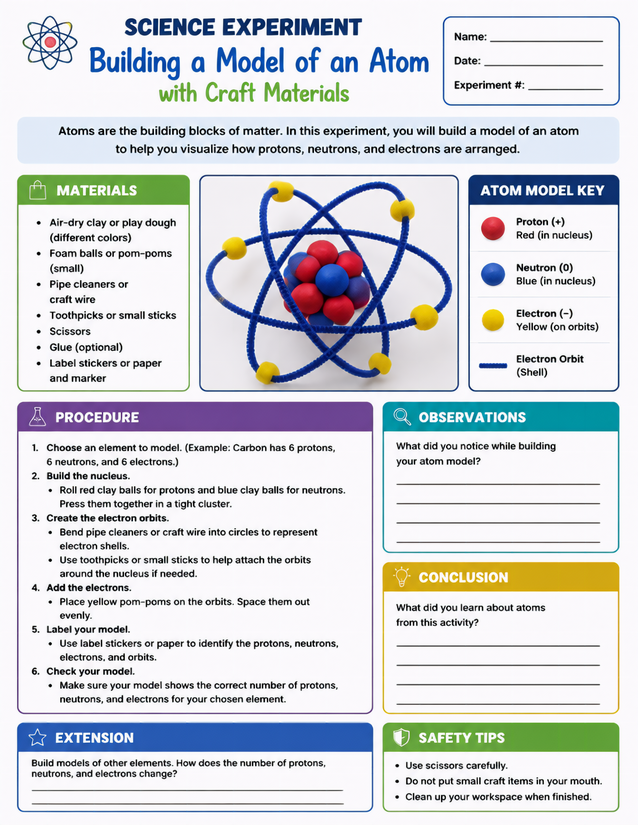
Grades 4 to 8 homeschoolers learn proton, neutron, and electron placement by building a model of an atom with clay and pipe cleaners.
Investigating Building a Model of an Atom in Your Homeschool Lab

Usage Notes
Air-dry clay or play dough, foam balls or pom-poms, pipe cleaners, toothpicks, scissors, and glue are the listed supplies. Nearly everything on the materials list is a household or dollar-store staple. Scissors are the only tool that warrants a reminder from the sheet’s own safety tips section, which also flags small craft items as a choking concern for younger siblings nearby.

Printing Tips
Standard printer paper works for a one-time build session, but 60-pound text stock holds up better when little hands are pressing clay against the page for reference. Punch and insert the finished sheet into a science lab notebook alongside a photo of the completed model.