Creative Minds 𖹭 Happy Hearts

Growing a Bean Plant in a Plastic Bag on a Window, 7-Day Observation Log
Growing a bean plant in a plastic bag turns a sunny window into a live science lab your student checks every single morning for a week.
This lab sheet walks your homeschooler through the full germination cycle of a single bean seed, from a damp paper towel tucked inside a zip-top bag taped to the window on Day 1 to a sprouted seedling with visible roots by the end of the week. The guiding question, ‘How does a bean seed grow into a plant when given water, light, and warmth?’ anchors the experiment for grades K through 3, and the seven-row observation table asks your student to sketch what they see and write about changes each day.
Growing a bean plant in a plastic bag fits naturally into a plants and living things unit study, and it works just as well as a standalone first experiment for young students who have never kept a science record before. By Day 7, your student has a completed observation log, a reflection box with two to three sentences about what they learned, and three Think About It questions that push them to predict what the plant will need next, demonstrating both careful observation and basic scientific reasoning.
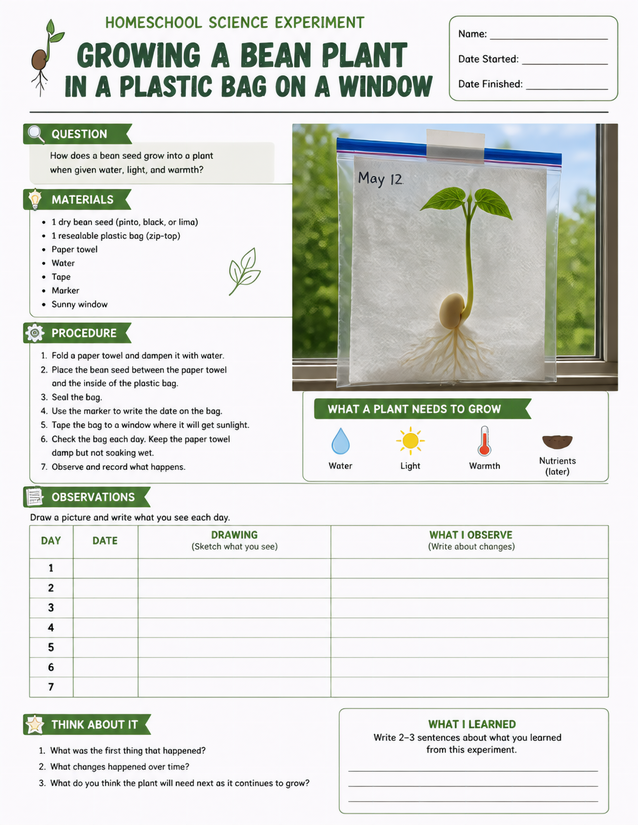
Watch germination unfold daily: growing a bean plant in a plastic bag teaches grades K-3 plant science with just five household items.
Getting Started with Growing a Bean Plant in a Plastic Bag

Usage Notes
Every material on this sheet is a household staple: one dry bean seed (pinto, black, or lima), a resealable zip-top bag, a paper towel, water, tape, and a marker. No specialty supplies are needed, which makes setup take about five minutes on Day 1. The sheet implies no safety concerns beyond keeping the paper towel damp but not soaking, which the procedure notes explicitly.

Printing Tips
Slip the finished sheet into a lab notebook alongside any seed-packet information your student collects before starting. A heavier 32-pound paper holds up better in the observations table if your student sketches with markers rather than pencil, since seven days of daily entries can add up quickly.