Creative Minds 𖹭 Happy Hearts

Growing Microgreens and Harvesting Them for Nutrition Testing
Broccoli, radish, or sunflower seeds planted Monday could yield measurable nutrition data by the following week. This growing microgreens nutrition testing lab turns a shallow tray and some coco coir into a hands-on biochemistry experiment.
Your student starts by planting microgreen seeds in a shallow drainage tray, watering carefully, and positioning the tray under a sunny window or grow light for 12 to 16 hours per day. After 7 to 14 days, once the first true leaves appear, they harvest with scissors, weigh the yield on a kitchen scale, and blend 10 grams with distilled water to create a test solution. From there, four nutrition tests measure chlorophyll as a proxy for antioxidants, Vitamin C levels, nitrate content, and optional total antioxidant capacity. This growing microgreens nutrition testing lab is written for grades 5 through 8 and fits naturally into a botany, nutrition science, or food science unit.
The sheet walks through the full scientific method: a guiding question, a hypothesis prompt, a nine-step procedure, a structured data table with result columns, and a conclusion section that asks students to evaluate their results and plan improvements. Because the experiment spans roughly two weeks from planting to testing, it works best as an anchor activity in a longer unit study rather than a single-session lesson. Completing it demonstrates understanding of plant growth cycles, basic chemistry through test-kit colorimetry, and the connection between farming choices and nutritional outcomes.
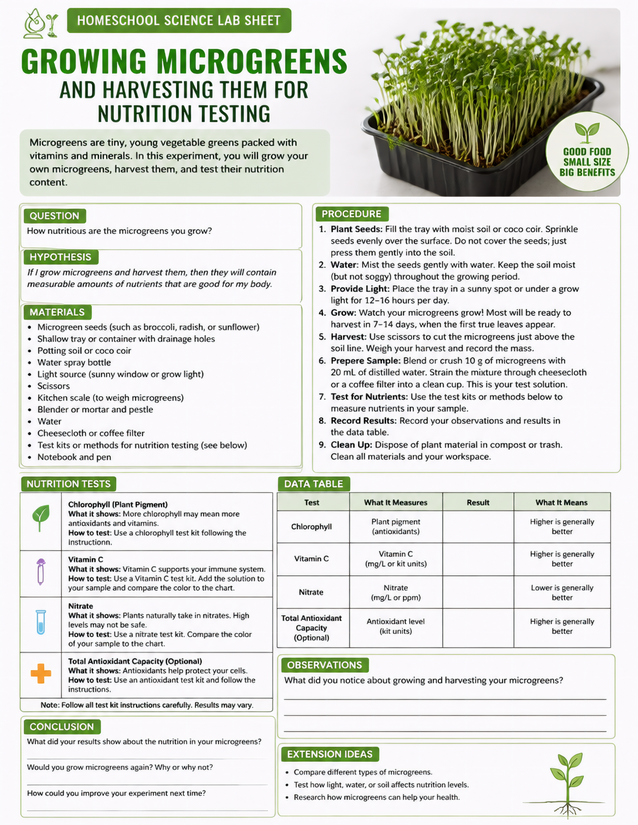
Grades 4 through 8 will love this growing microgreens nutrition testing lab, covering chlorophyll, Vitamin C, and antioxidant capacity. Download free.
Investigating the Growing Microgreens Nutrition Testing Lab

Usage Notes
Most materials are household items or easy grocery-store finds: a shallow tray with drainage holes, potting soil or coco coir, a water spray bottle, scissors, and a kitchen scale. The nutrition test kits for chlorophyll, Vitamin C, nitrate, and antioxidant capacity are specialty supplies available online or from science education suppliers. The sheet notes that high nitrate levels may indicate safety concerns, so briefly discussing why lower nitrate results are considered better is a worthwhile pre-experiment conversation.

Printing Tips
A 24-pound or heavier sheet holds up well when students are recording liquid measurements and test-kit color comparisons at the bench. Slip the sheet into a plastic page protector inside a lab notebook so splashes from the blending and straining steps do not damage the data table before results are fully recorded.