Creative Minds 𖹭 Happy Hearts

Making a Magnetic Levitation Device with Ring Magnets
Two ring magnets, a wooden base, and the right pole orientation are all it takes: making a magnetic levitation device shows your student exactly why like poles refuse to touch.
Making a magnetic levitation device is the focus of this hands-on homeschool science lab sheet, designed for grades 4 to 7. Your student builds a working maglev device by stacking two same-size ring magnets with like poles facing each other, measures the levitation gap in millimeters or inches, rates stability on a three-point scale, and records what changes when the base is tilted or different magnet sizes are swapped in.
The sheet fits naturally into a physics unit study on forces and magnetism, and it stands alone just as well for a single-session lab day. By completing the observations and Think and Discuss questions, your homeschooler demonstrates understanding of magnetic repulsion, pole orientation, and how magnetic force can balance gravity. A challenge prompt at the bottom pushes further inquiry: can they increase the levitation height while keeping the device stable?
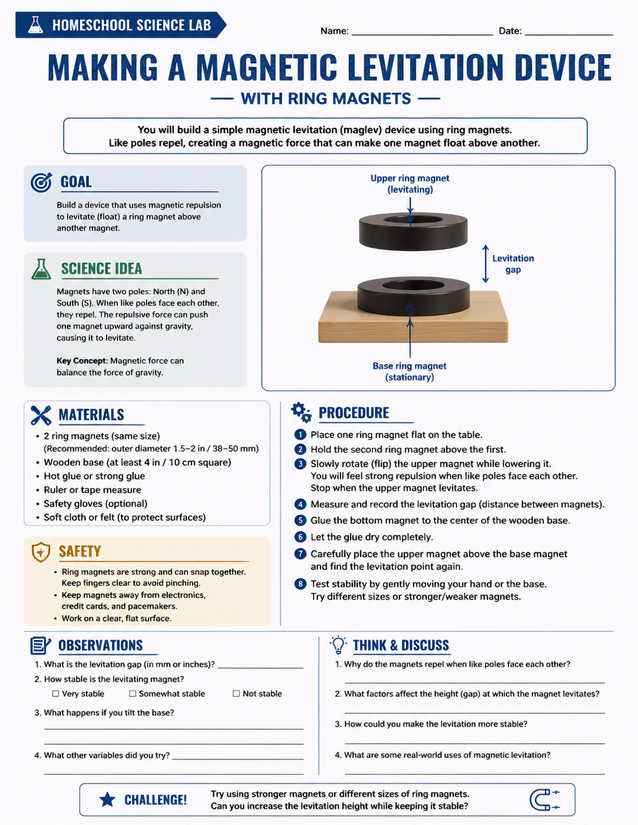
Grades 4-7 homeschool science: making a magnetic levitation device teaches magnetic repulsion, pole orientation, and measurable levitation gaps. Download free.
Investigating Making a Magnetic Levitation Device Step by Step

Usage Notes
Ring magnets rated 1.5 to 2 inches in outer diameter are the specialty item here; everything else, including a wooden base, hot glue or strong craft glue, a ruler, and soft cloth to protect surfaces, is likely already on hand. Safety gloves are listed as optional, but the sheet specifically warns that strong ring magnets can snap together and pinch fingers, so supervise younger students closely during the pole-orientation step. A clear, flat workspace away from electronics, credit cards, and pacemakers is a required setup note printed directly on the sheet.

Printing Tips
Card stock or 32 lb paper holds up better than standard copy weight when students are pressing down to write measurements during the experiment. Slip the sheet into a clipboard for easy use on the lab table, or insert it directly into a three-ring science notebook after the lab is complete.