Creative Minds 𖹭 Happy Hearts

Making a Model of the Ear and Studying Vibrations
A plastic cup, a balloon, and a bead tell the whole story of how sound moves through your ear. This model of the ear vibrations experiment makes that invisible process visible in about one afternoon.
Your student builds a working eardrum model using a balloon stretched over a clear cup, two craft sticks acting as ossicles, and a small bead as the stirrup, then holds it near a speaker to watch sound waves move every component. The sheet walks through six numbered build steps, six test conditions including volume changes and pitch comparisons, and four written observation prompts. Aimed at grades 4 to 6, it connects directly to a human body unit study by asking students to match each model part to its real anatomical counterpart.
This model of the ear vibrations lab works as a standalone one-day lesson or as the anchor activity inside a sound and waves unit. Completing the Think and Extend section, which asks why membrane tension affects bead movement and what happens when ear structures are damaged, demonstrates that your homeschooler can move beyond observation into mechanistic reasoning. A Name, Date, and For field at the top keeps it tidy inside any lab notebook or portfolio.
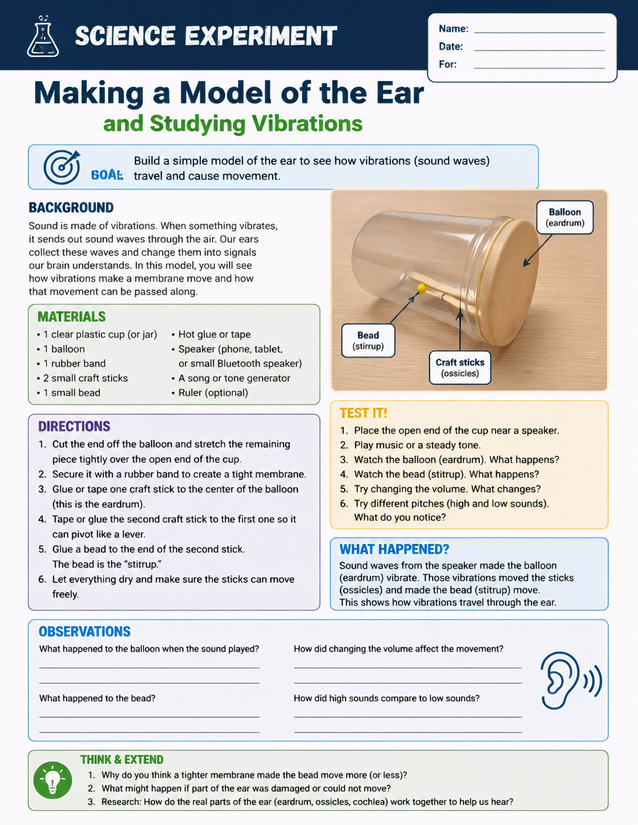
Record how a model of the ear vibrations experiment works for grades 4-6 homeschoolers. Household materials, instant download.
Investigating a Model of the Ear Vibrations at Home

Usage Notes
Every material on this sheet is a household or hardware store item: a clear plastic cup or jar, one balloon, a rubber band, two small craft sticks, a bead, and hot glue or tape. The only specialty item is a speaker, though a phone or tablet works fine. Hot glue is the one safety note worth flagging for younger students who will need adult help during the assembly steps.

Printing Tips
Twenty-four lb copy paper holds up fine for writing during the observation prompts, but 32 lb paper prevents bleed-through if your student presses hard. Slide the completed sheet into a clear page protector in a lab binder rather than laminating, since the four observation lines need to be filled in with pencil or pen.