Creative Minds 𖹭 Happy Hearts

Making Homemade Paper and Testing Its Strength Lab Sheet
Waste paper, a blender, and a mesh screen are all it takes to put making homemade paper and testing its strength onto your science schedule this week.
Your student starts by pulping waste paper in a blender, pouring it onto a mesh screen or picture frame, and pressing out the water to form single sheets. Once dry, strips are cut to roughly 2 cm wide and 15 cm long, then suspended between two tables while coins or washers are added one at a time until the strip breaks. The data table records weight held before breaking and observations for one through five layers, directly testing whether more layers produce measurably stronger paper. This lab is well suited for grades 4-7 and pairs naturally with a unit study on materials science, engineering properties, or environmental studies around paper recycling.
Making homemade paper and testing its strength works as a two-session lab: one day for pulping and drying, the next for the strength test and data recording. Three analysis questions ask your student to describe what happened to strength as layers increased, explain why more fibers might account for the result, and propose a change for a follow-up trial. A conclusion box and a fairness tip at the bottom reinforce controlled variable thinking. The sheet stands alone as a complete guided investigation without needing a textbook chapter to frame it.
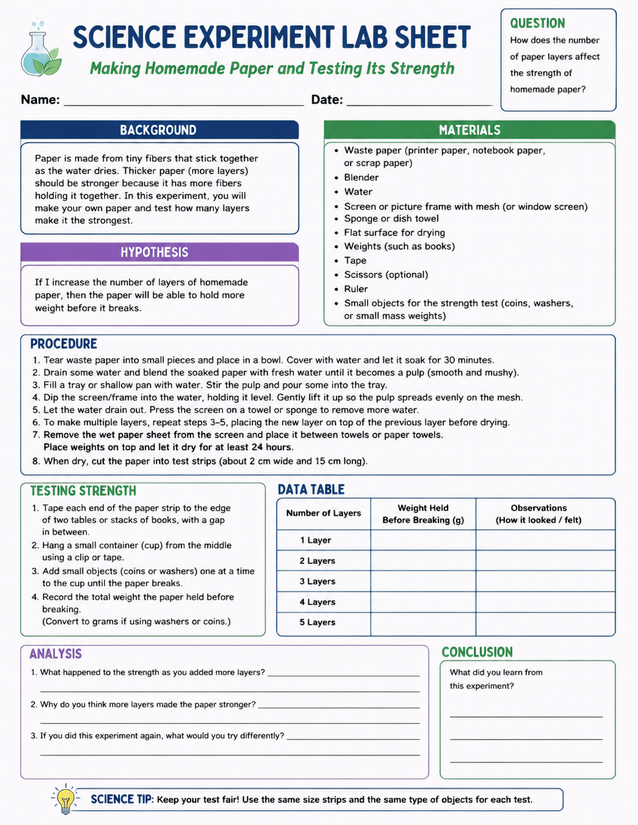
Grades 4-7 homeschoolers explore making homemade paper and testing its strength across one through five layers. Instant download included.
Setting Up Making Homemade Paper and Testing Its Strength

Usage Notes
Most materials here are household items your student can gather before the first session: waste paper, a blender, water, a sponge, books for weight, tape, scissors, a ruler, and coins or washers for the strength test. The one specialty item is a screen or picture frame fitted with mesh, which a window screen cut to size can replace. No heat or chemicals are involved, though adult supervision is worth noting during the blending step with young students.

Printing Tips
A single copy on 24-pound paper gives your student enough surface to press firmly while recording gram measurements in the data table without the sheet buckling. Loose sheets on a clipboard work well during the strength test so your student can stand at the gap between tables and still reach the recording area easily.