
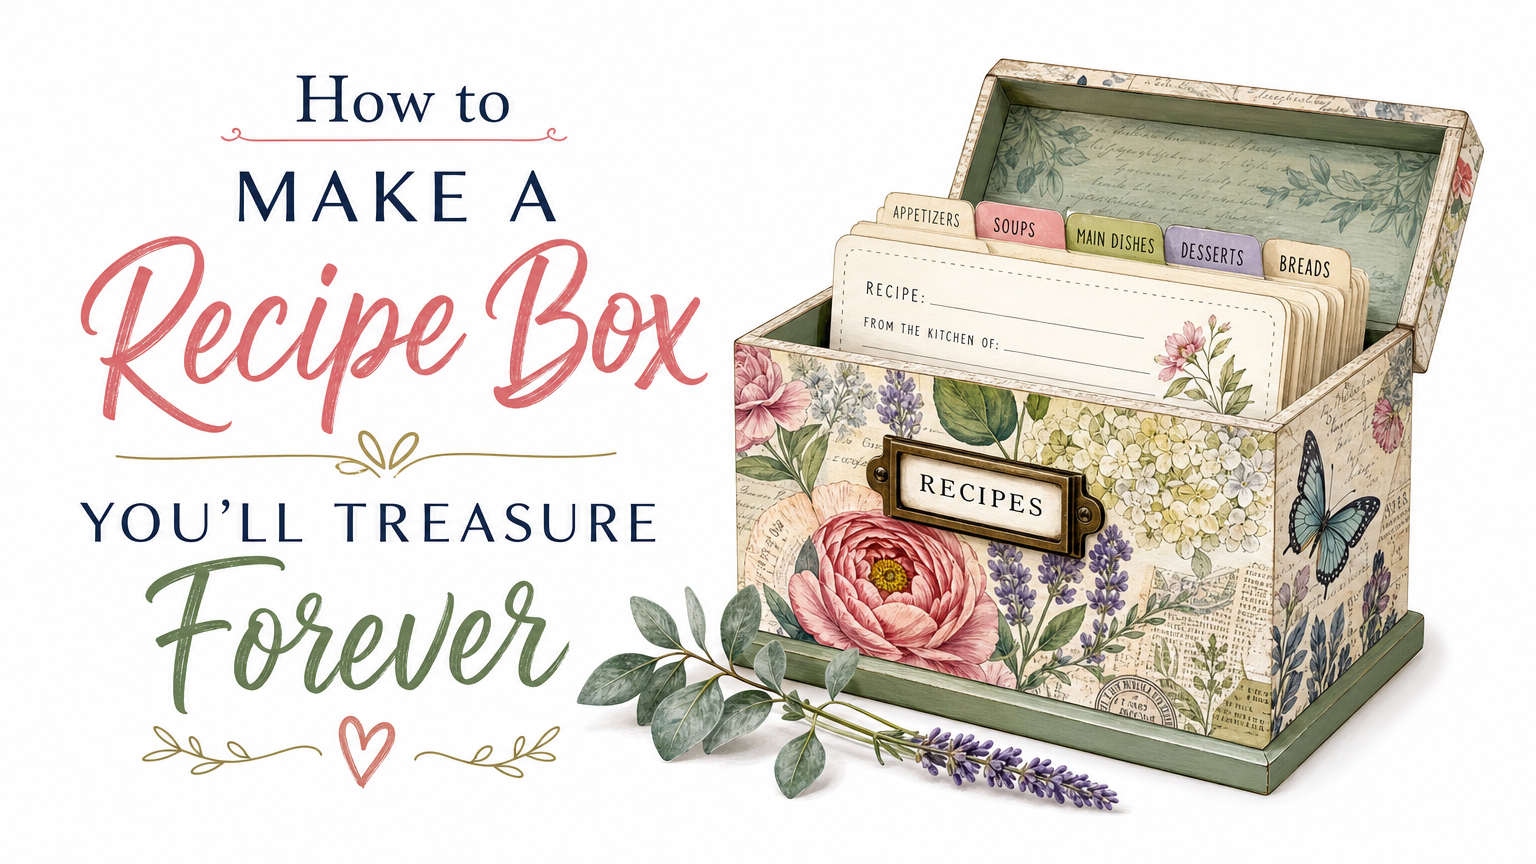
There’s something genuinely satisfying about a handmade recipe box sitting on your kitchen counter. It holds your grandmother’s pie crust scrawled on a notecard, that pasta sauce you invented on a Tuesday, the cookie recipe your kids ask for every December. And when you make the box yourself, with a little help from small hands that care more about the glitter than the glue drying time, it becomes a family keepsake before you even fill it with a single card.
This project is completely doable on a weekend afternoon. You don’t need a woodshop, a fancy cutting tool, or any prior crafting experience. What you do need is a little patience, some materials you can grab at any craft store or even a dollar store, and a co-creator kid who’s excited to make a mess with you in the best possible way.
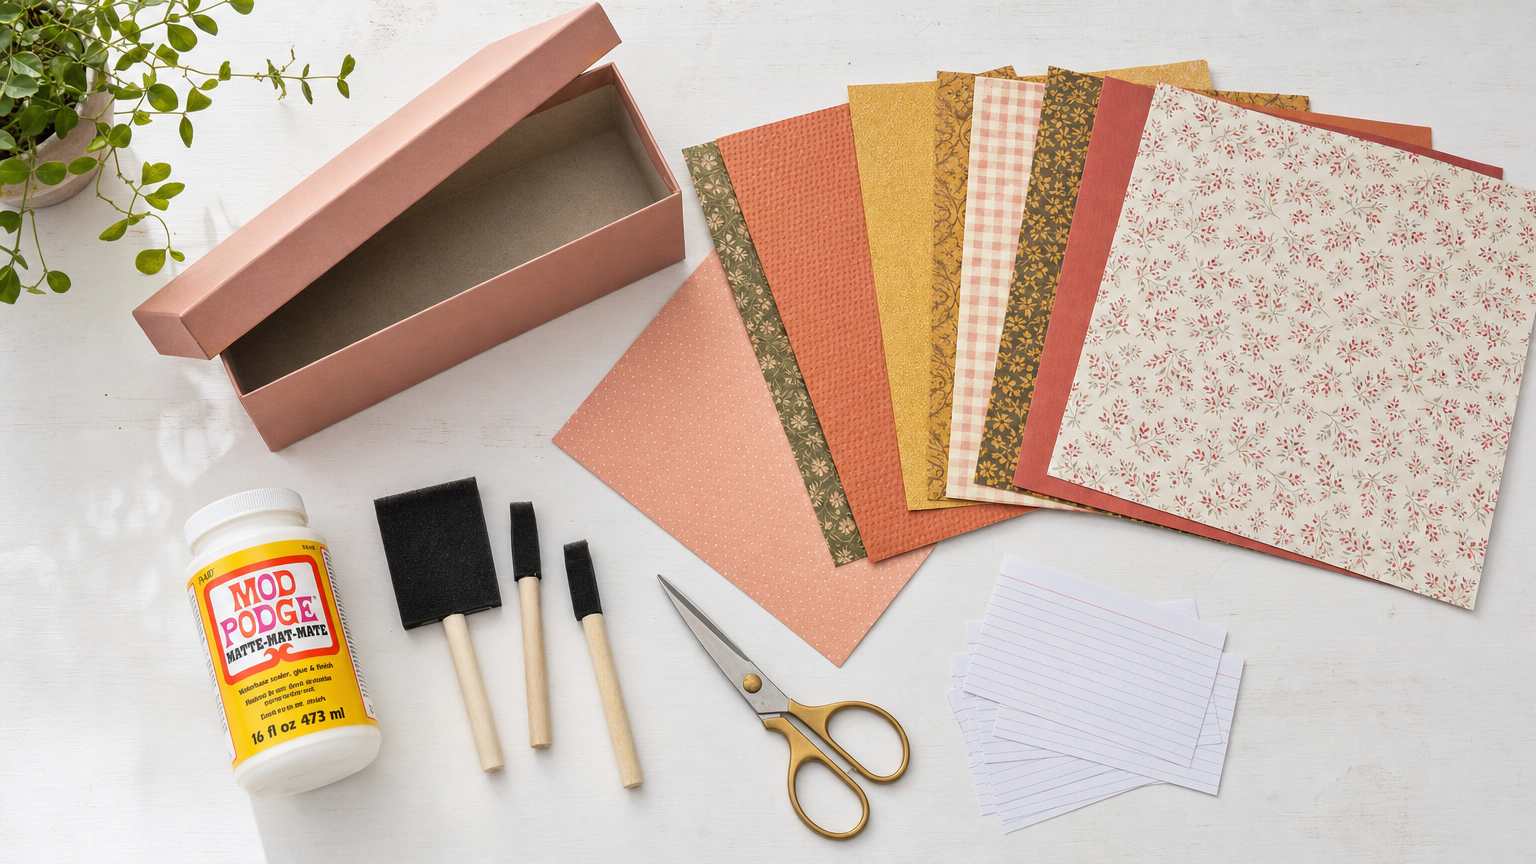
What You’ll Need
For the box itself:
For covering and decorating:
For the recipe card dividers:
Optional but nice:
Step 1: Choose Your Box & Prep It
Start by picking the right box for the job. You want something with a lid that sits on top separately (not a flip-top lid, which gets awkward when you’re rummaging for cards). A women’s size shoebox dimensions are actually close to perfect for standard 4×6 recipe cards with a little wiggle room on the sides for your divider tabs. A photo box will fit like a glove if you prefer that.
If your box has text printed on the outside, that’s completely fine. You’ll be covering it up anyway.
Run your hand along the inside and outside edges and check for any weak spots where the cardboard has gotten soft or bent. If you find any, cut a small strip of extra cardboard and glue it inside the box as a brace. Binder clips hold it in place while it dries, which usually takes about 20 minutes with craft glue.
Once your box feels solid, give it a light coat of white acrylic paint if you want a clean, bright base under your decorative paper. This is optional, but it helps the colors of your paper really pop and covers any dark printing that might show through lighter papers.
Step 2: Cut & Apply Your Covering Paper
This is where the real transformation happens, and it’s also a great step to do alongside your child because cutting and gluing paper requires zero precision to look wonderful.
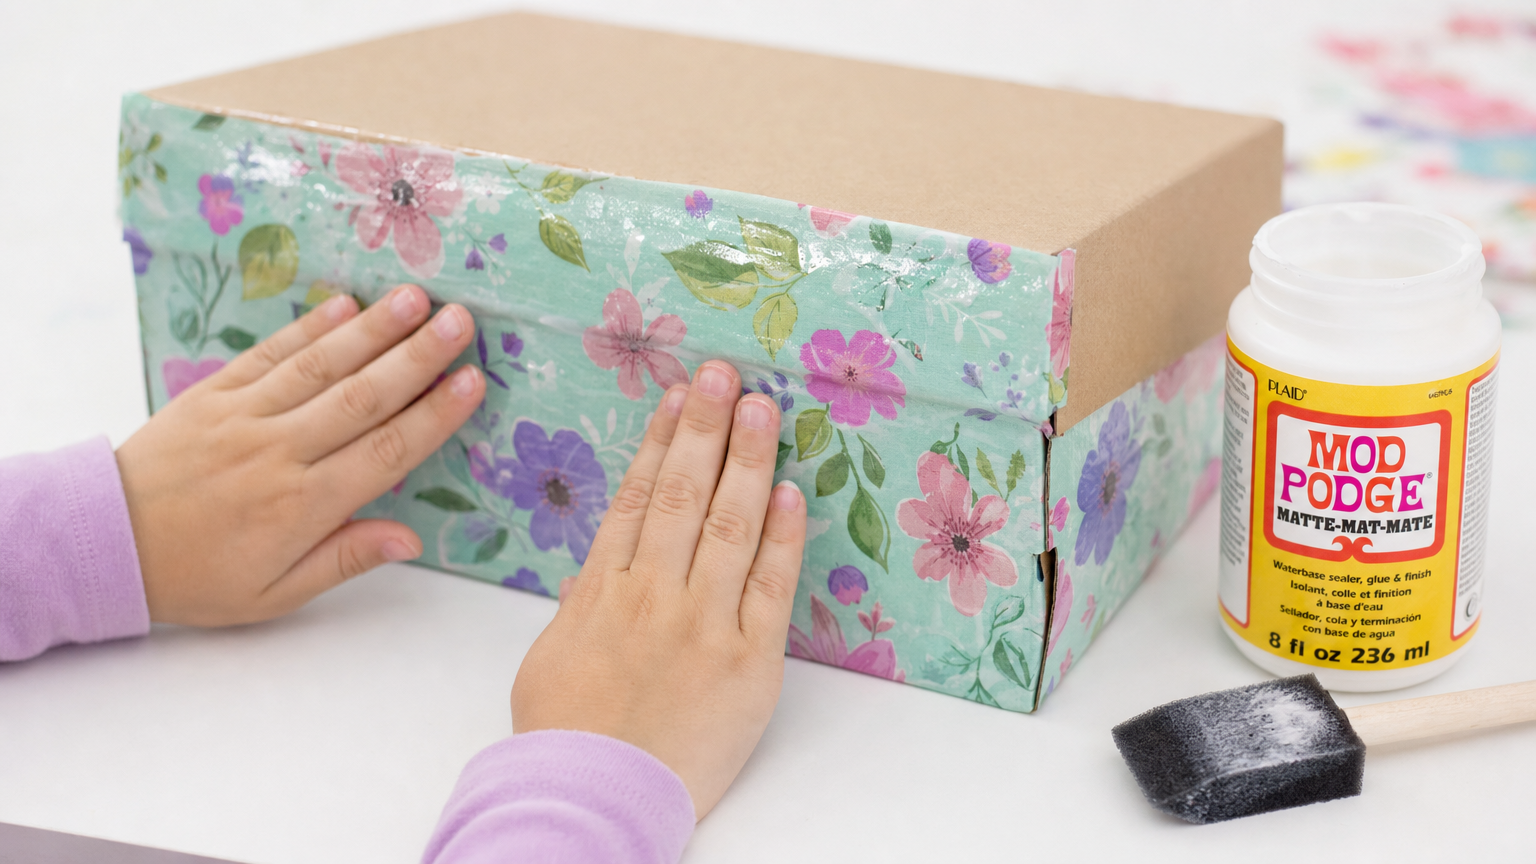
Measure first. Lay your box on a sheet of decorative paper and trace around the bottom and sides with a pencil. Add about an inch extra on each side so you have paper to wrap up and over the edges, just like you’re wrapping a gift. Cut along your lines. For the inside walls of the box, you can cut separate strips of paper and line them like wallpaper, or you can use a contrasting paper for the inside to make the box feel fancy when it’s open.
Apply the Mod Podge. Brush a layer of Mod Podge onto the outside of the box, one side at a time. Lay your paper down, smooth out any bubbles by pressing from the center outward with your fingers or the back of a spoon, and fold the extra inch of paper over the top edge to the inside. Then brush another thin coat of Mod Podge right over the top of the paper. This seals it and gives it that slightly lacquered look that makes everything feel finished.
Work in sections. Don’t try to wrap the whole box with one giant sheet. It buckles. Doing each side separately gives you way more control, and the seams between sections are barely visible once the Mod Podge is dry.
Repeat for the Lid
Do the same process on the box lid. If you want the inside of the lid to have a special message or a little printed label that says something like “Family Recipes” or your family’s name, cut a piece of cardstock to fit and glue it in there.
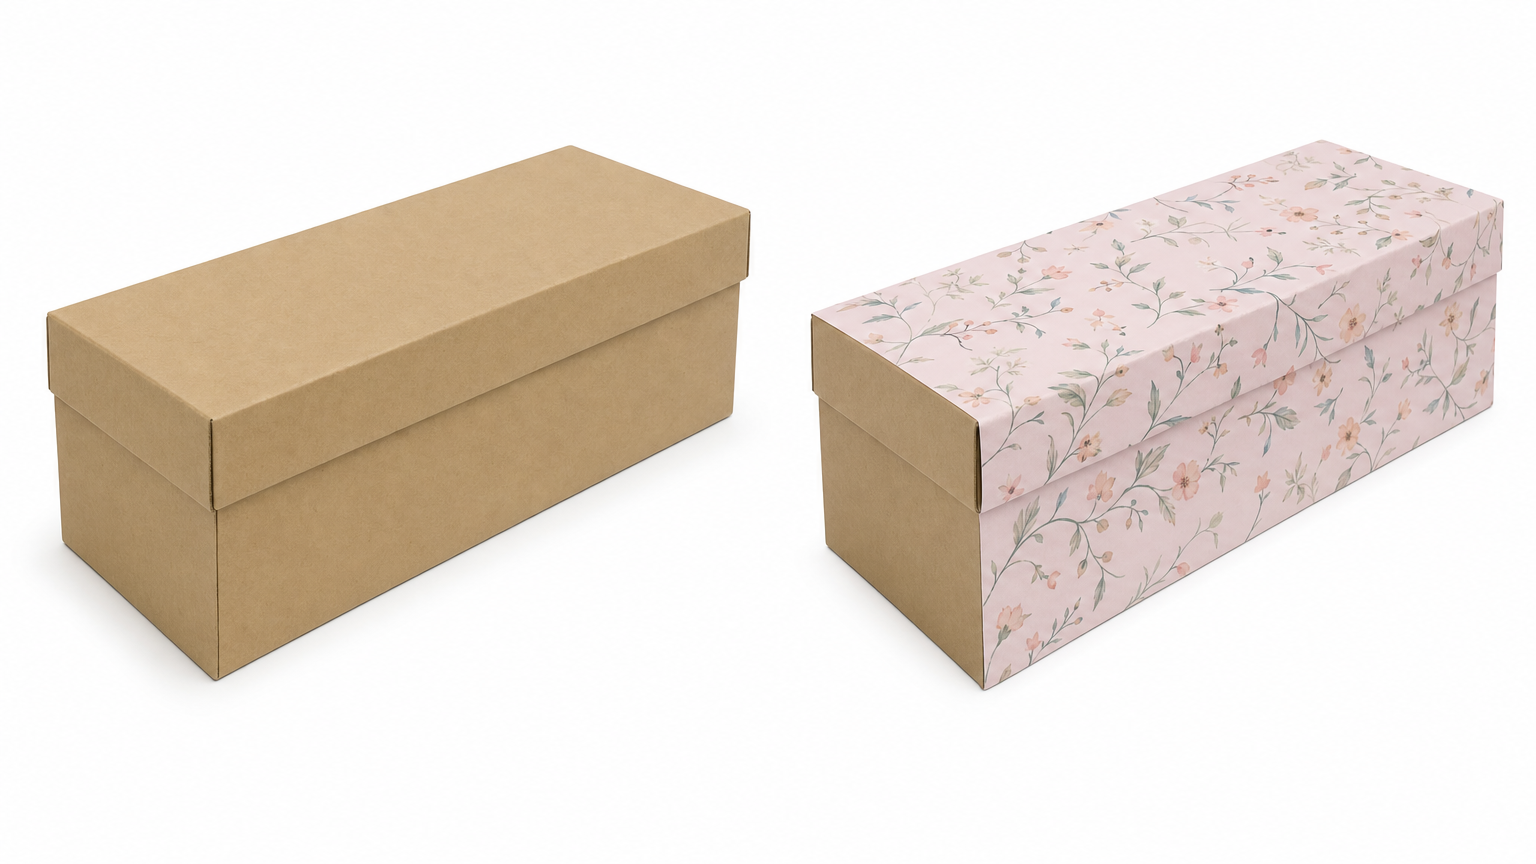
Let everything dry completely before moving on, at least 30 to 45 minutes, or longer if your layers of Mod Podge are thick.
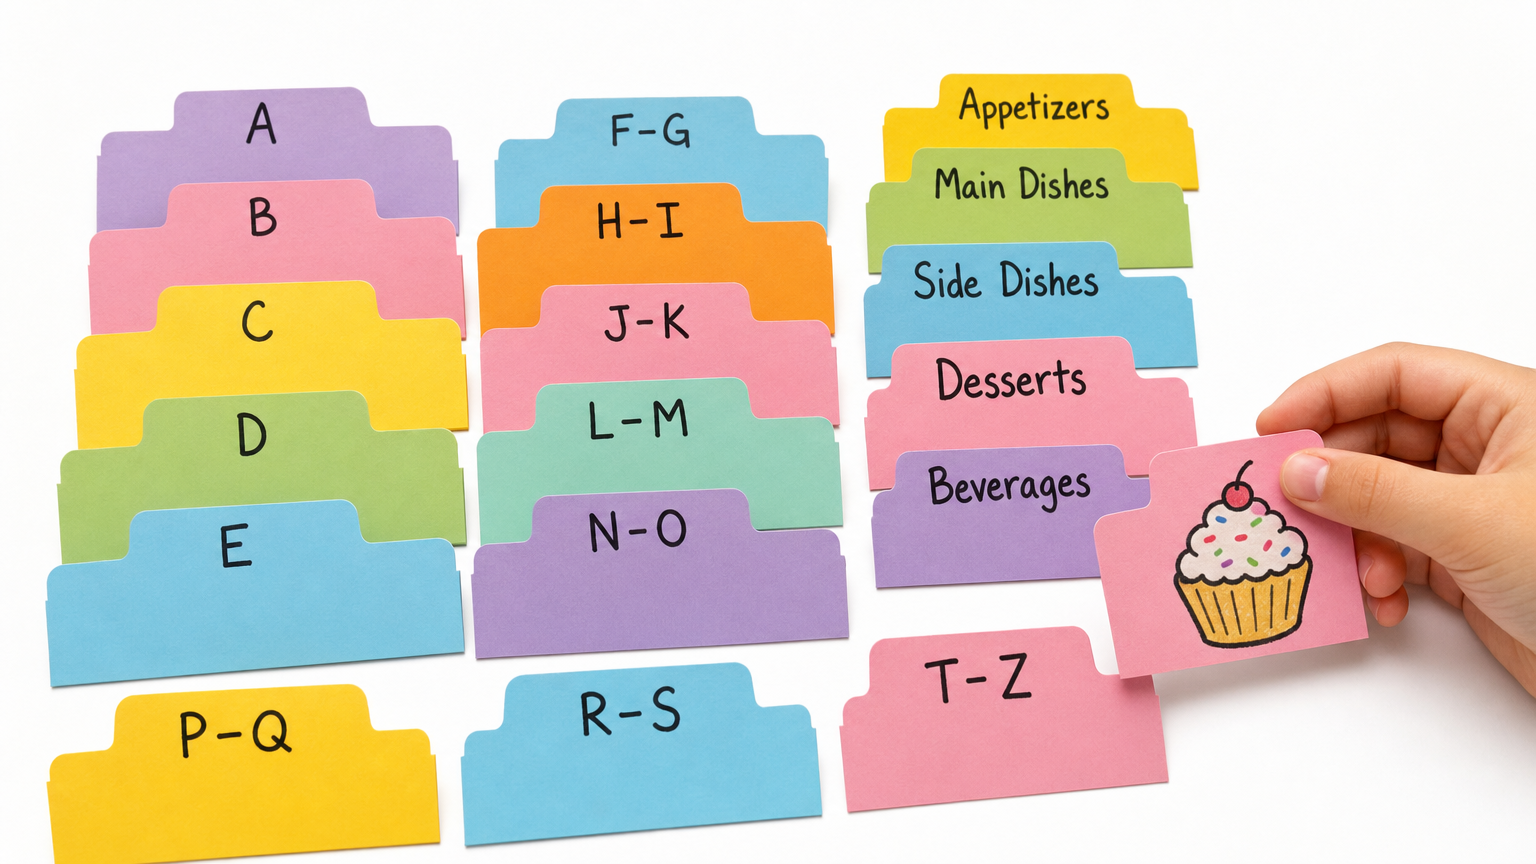
Step 3: Make Your Divider Tabs
Many people find categories more intuitive than alphabetical order. Think: Breakfast, Soups, Mains, Sides, Baking, Desserts, Drinks, and maybe a Favorites section right at the front. Same construction as above, just labeled by category instead of letter. Your kid can decorate each tab with a little drawing of a food that belongs there. A soup bowl on the Soups tab. A cupcake on Desserts. This is really fun and makes the box uniquely yours.
To make the dividers sturdier, glue two pieces of cardstock together back to back before you cut and label them. They’ll hold up much better over time and won’t flop over when the box isn’t completely full.
Step 4: Decorate to Your Heart’s Content
This is the step where the project goes from “craft” to “heirloom,” and it’s also the step where kids tend to take over entirely. Which is exactly right.
There’s no wrong way to decorate this box. Here are some directions you might want to go:
The cozy kitchen look: Warm tones like cream, red, and soft yellow. Use a paint pen to write your family name on the front of the lid. Add a few simple hand-drawn vegetables or fruit, a rolling pin, some little stars. Tie a length of twine around the lid as a closure.
The garden look: Use floral scrapbook paper as your base and add dried or pressed flowers under a layer of Mod Podge for a botanical effect. These flowers are fragile but last beautifully when sealed. Kids can help press flowers a few days in advance by stacking them between pages of a heavy book.
The bold and colorful look: Use bright solid colors of paper and let your child go to town with stickers, washi tape in contrasting patterns, and stamps. This one usually ends up looking like a piece of folk art, and honestly it’s often the most charming version.
The chalkboard look: Paint the outside of the lid with chalkboard paint (available at any craft store). Once it cures, you can write on it with chalk and change the label whenever you want. Great if you use the box for seasonal recipes and want to update the outside throughout the year.
Step 5: Add a Lid Handle (Optional but Worth It)
This one small addition makes the box feel genuinely finished and a little special. A wooden knob from the hardware store, the kind sold for dressers and cabinet doors, costs almost nothing and attaches in about two minutes.
Hold the knob up to the center of your lid and trace around the screw base with a pencil. Use a pushpin or the tip of your scissors to poke a starter hole, then carefully push a small screw up through the inside of the lid and thread it into the base of the knob from the outside. If the screw that came with the knob is too long and pokes through, add a small washer or a folded piece of cardstock on the inside to create more thickness.
Paint the knob to match or contrast your box. A brightly painted knob against a floral paper lid looks really good. Metallic gold or silver paint on a wooden knob adds a sophisticated touch if that’s more your style.
Step 6: Make Your First Recipe Cards
The box needs cards to hold, and making a few custom ones at the start makes the whole thing feel official.
You can print cards on cardstock using any word processor. Set up a document to the size of your card (4×6 or 3×5), add a simple header with your family name, a decorative border, and lines for the recipe text. Print a sheet of these at a time.
Or skip the computer entirely and just cut cardstock into card-sized pieces. Your kid can draw a border around each one, and you fill in the recipe by hand. Handwritten recipe cards have a warmth to them that printed ones never quite match. Something about seeing the actual handwriting of the person who made the dish.
Step 6: Make Your First Recipe Cards
The box needs cards to hold, and making a few custom ones at the start makes the whole thing feel official.
You can print cards on cardstock using any word processor. Set up a document to the size of your card (4×6 or 3×5), add a simple header with your family name, a decorative border, and lines for the recipe text. Print a sheet of these at a time.
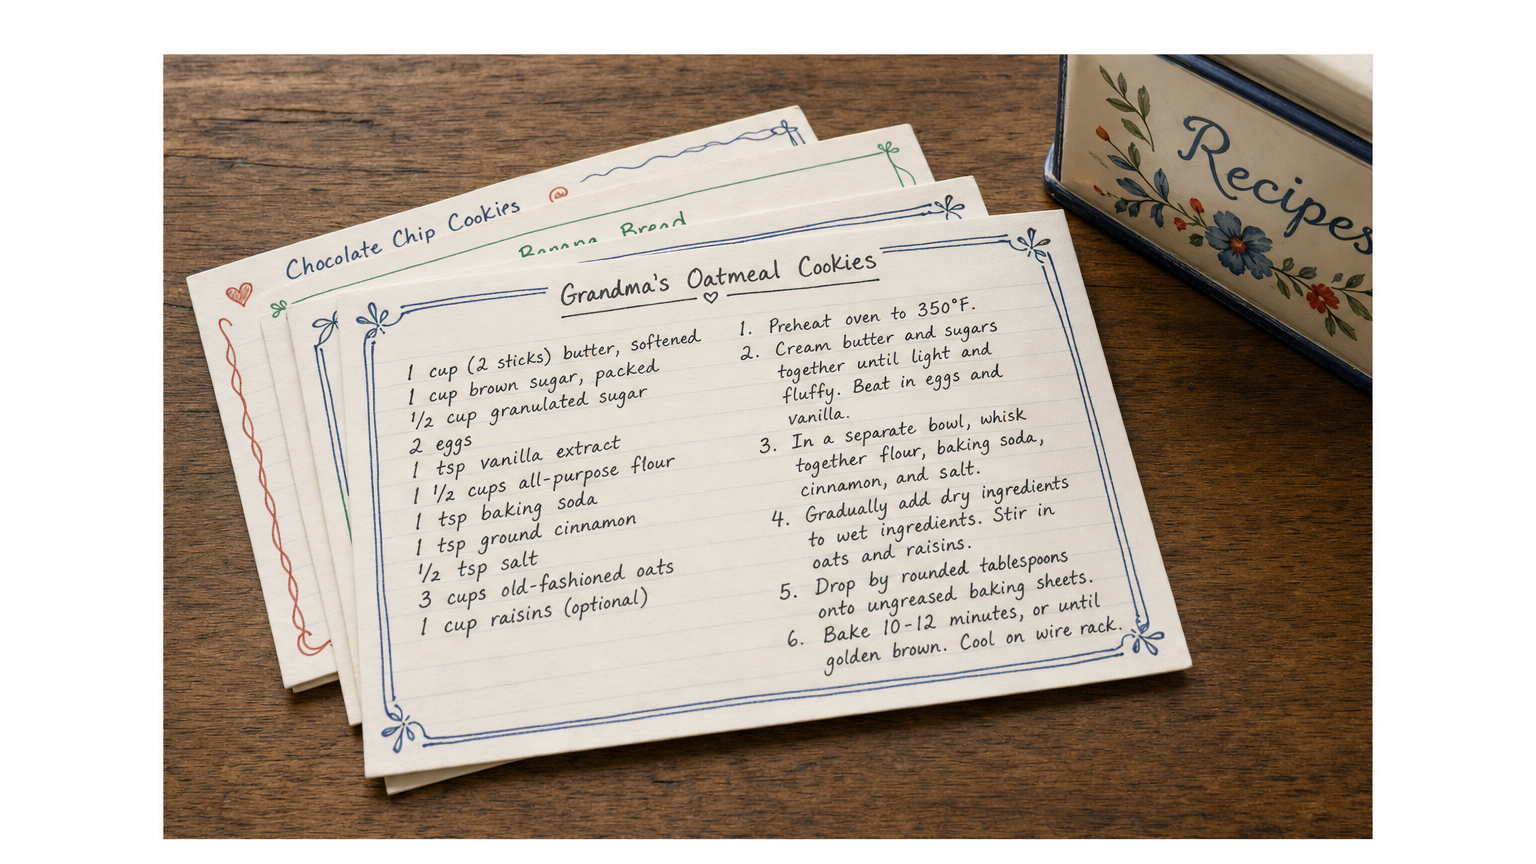
Or skip the computer entirely and just cut cardstock into card-sized pieces. Your kid can draw a border around each one, and you fill in the recipe by hand. Handwritten recipe cards have a warmth to them that printed ones never quite match. Something about seeing the actual handwriting of the person who made the dish.
Keeping the Tradition Growing
The box is done now but the project, in a way, is just starting. The best recipe boxes get fuller and more worn over years of actual use. The Mod Podge gets a little scratched. A corner gets dented. Someone writes on a card in crayon because it was the only thing nearby.
If you want to keep the outside looking fresh, you can add a new layer of Mod Podge over the paper once a year or so. It dries clear and refreshes the surface.
Think about making this a tradition with your kid: every time you try a new recipe that earns a permanent spot in the family rotation, you make a card for it together. They can illustrate it if they want. Over years, this becomes a record not just of meals but of the time you spent cooking and eating and being in the same kitchen together.
Some families eventually make a second box when the first fills up. A box for baking only, or a box for the kid who’s heading off to college and needs to take a piece of home with them. That’s the kind of thing that starts with an afternoon, a shoebox, and a foam brush.
Quick Troubleshooting
The paper is bubbling…
Smooth from the center out while the Mod Podge is still wet, pressing firmly. If bubbles appear after it dries, add another coat of Mod Podge on top, let it soften the bubble slightly, press it flat, and let it dry again.
The box lid doesn’t sit right anymore…
Paper and Mod Podge add a tiny bit of thickness. If the lid is now too snug, lightly sand the inner top edges of the box with coarse sandpaper until the fit is comfortable again.
The dividers keep falling over…
Either the cards are too lightweight or the box isn’t full enough yet. Double up your divider cardstock, or add a folded strip of cardboard along the bottom of the box interior to raise the floor slightly, which holds dividers more upright.
The decorations look messy…
If you’re not happy with how something turned out, just layer a piece of contrasting paper or washi tape over it and keep going. Imperfection in a handmade thing isn’t a true flaw. It’s the proof that a real person made it.