
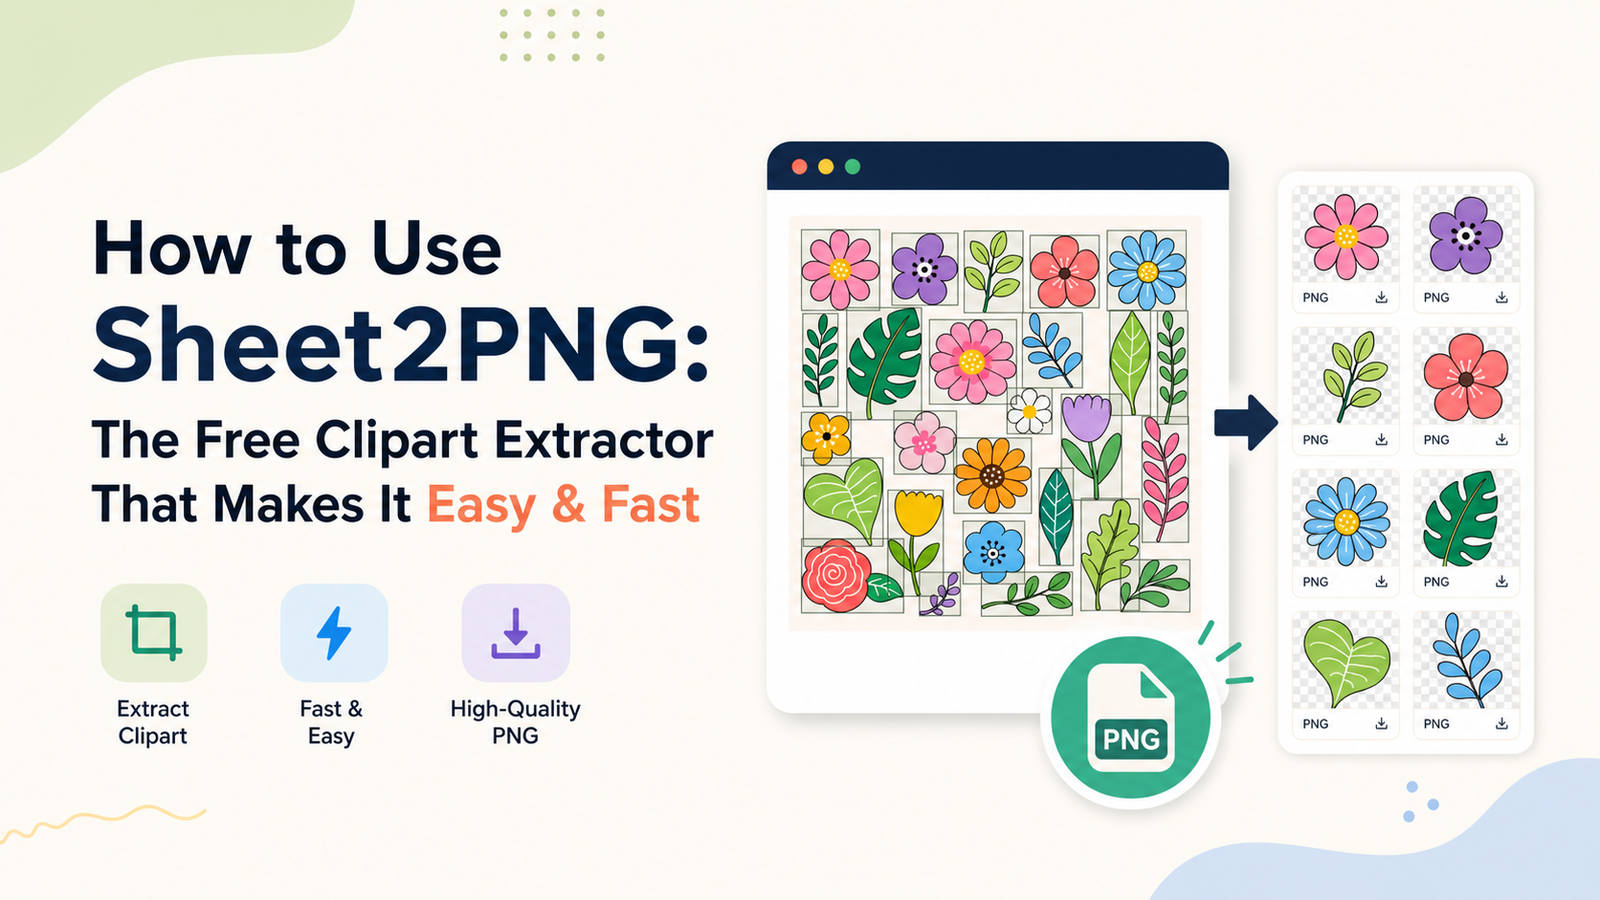
You found the perfect clipart sheet. Dozens of adorable little elements all lined up on a white background, ready to use. There is just one problem: you need them as individual files with transparent backgrounds, not as one big image with everything crammed together.
If you have ever spent an afternoon in Photoshop selecting one tiny element at a time, you already know exactly how tedious that gets. Sheet2PNG is the Elevated Printables tool that handles that job for you, automatically, right in your browser, in a fraction of the time.
This guide walks you through every feature so you can go from a full clipart sheet to a folder of clean, individually cropped PNG files without breaking a sweat.
What Is Sheet2PNG?
Sheet2PNG is a free browser-based tool that analyzes a clipart sheet image and automatically identifies every distinct element on it. It removes the background, isolates each piece, and lets you download them individually or all at once as a ZIP file.
It runs entirely in your browser. Nothing is ever uploaded to a server. Your files stay on your computer the whole time, which means it works even if you are offline. There is no account to create, no software to install, and no file size restrictions to worry about.
The tool handles clipart sheets saved as PNG, JPG, WebP, or GIF files. If your sheet has a solid background (white, cream, colored) or even a transparent background, Sheet2PNG can work with it.
What You Can Do With the Extracted Elements
Before diving into how the tool works, it helps to understand what you will end up with. Each extracted element comes out as an individual PNG file with a transparent background, named sequentially (element-01.png, element-02.png, and so on).
Transparent-background PNGs are the most versatile graphic format for digital creators. Once you have them, you can:
If you have been buying individual clipart files when you could be extracting them from sheets you already own, this tool is going to change your workflow considerably.
Getting Started: The Drop Zone
When you open Sheet2PNG, the first thing you see is the drop zone. It is the large dashed rectangle in the center of the screen with an upload icon.
You have two ways to load your clipart sheet:
Drag and drop: Open your file manager, find the clipart sheet image, and drag it directly onto the drop zone. When you hover over it, the zone will highlight to let you know it is ready to receive the file.
Click to browse: Click anywhere on the drop zone and a standard file picker will open. Navigate to your image and select it.
Once the image loads, the interface shifts into workspace mode. The drop zone disappears and you see the two-column layout that makes up the main tool.
Understanding the Workspace Layout
The workspace is divided into two sections that are designed to work together.
The left column contains two things: the preview image showing your clipart sheet with colored bounding boxes drawn around each detected element, and the results grid below it where all your extracted elements appear as individual thumbnail cards.
The right column is a sticky control panel. Sticky means it stays in place while you scroll, so your adjustment controls are always visible no matter how far down your results grid goes. This is genuinely useful when you are working with a sheet that has 40 or 50 elements and a long grid to scroll through.
The layout stacks into a single column on smaller screens, so if you are on a tablet or a narrow browser window, the controls will appear above the results instead.
The Preview Image and Bounding Boxes
After your image loads, you will see it displayed in the preview area with green bounding boxes drawn around every element the tool detected. Each box marks one clipart piece that will be extracted.
If you see a lot of boxes where you expected fewer, the tool may be detecting small details or specks as separate elements. If you see fewer boxes than expected, some elements may be touching each other or the tool may need help identifying the background color.
You can zoom the preview in or out using the Preview Size slider in the control panel on the right. Dragging it to the right makes the preview larger, which helps when you are working with detailed sheets and want to see exactly which pieces are being detected.
How Background Detection Works
The most important thing Sheet2PNG does is figure out what color to treat as the background. Everything that is not that color gets kept as a clipart element.
By default, the tool automatically analyzes your image and makes its best guess about the background color. It is very good at detecting standard white and near-white backgrounds, as well as solid-colored backgrounds.
The detected background color is shown as a small color swatch in the control panel, labeled either “auto-detected” or “transparent” depending on what it found.
When auto-detection works well: Your sheet has a clean solid background, the elements do not touch the edges, and there is clear visual separation between the background and the artwork. In most cases, the auto-detection handles this without any intervention from you.
When you need to help it: If the background color is unusual, very close in value to some of your clipart elements, or the auto-detection picks up the wrong color, you can override it manually using the eyedropper tool.
Using the Eyedropper to Pick the Background Color
The background eyedropper is one of the most useful controls in the panel. When auto-detection misses the mark, this fixes it fast.
Here is how to use it:
The swatch updates to show the color you picked, labeled “picked” so you know it is a manual selection rather than auto-detected.
This is especially useful for sheets with cream, tan, kraft paper, or light gray backgrounds that might trip up the auto-detector.
Handling Enclosed Pockets
Here is where Sheet2PNG handles something most simple background-removal tools completely miss.
Imagine a clipart of a donut. The hole in the middle of the donut is enclosed by the artwork, but it is the same color as the background. A basic background removal would leave the hole filled in rather than making it transparent, because it cannot tell that the inside of the donut is supposed to be empty.
Sheet2PNG calls these enclosed areas “pockets,” and it has a dedicated feature to clear them.
Enable pocket clearing: The “Clear enclosed pockets” checkbox in the control panel turns this feature on. When it is enabled, the tool looks for areas of background color that are completely surrounded by artwork and removes them too.
The Pocket Color option: Some clipart has a double-layer problem. The artwork may have originally been on a white background, which left white fringe behind the main colors even after the sheet background was removed. Sheet2PNG lets you pick a second pocket color to handle this leftover white. Use the second eyedropper (labeled “Pick from image” in the Pocket Color section) to click on any remaining white areas inside your clipart elements, and the tool will clear those out too.
When to use it: Turn on pocket clearing whenever you are working with artwork that has enclosed negative space, like letters, rings, donuts, frames, wreaths, or any design with a hole through it. Leave it off for simple solid shapes that have no interior negative space, since it does not affect them either way.
The Defringe Option
When a clipart element sits on a colored background, the pixels right at the edge of the element often pick up a tiny amount of the background color. This creates a faint halo or fringe around the element when you place it on a new background, which looks sloppy and amateurish.
The Defringe checkbox tells Sheet2PNG to run an edge cleanup pass that removes or softens those contaminated edge pixels. It replaces fringe pixels with colors that blend naturally into the element rather than carrying traces of the old background.
Turn this on when you are extracting from colored backgrounds (anything other than pure white or transparent). It makes a noticeable difference in the quality of the result.
Adjusting the Minimum Element Size
The Minimum Size slider controls how small an element can be before the tool ignores it.
Every clipart sheet has some noise. A tiny speck of ink, a stray pixel, a slight imperfection in the scan. Without filtering, Sheet2PNG might detect these as elements and clutter your results with dozens of tiny useless crops.
The Minimum Size slider sets a threshold in pixels. Any detected region smaller than that threshold gets treated as a speck and filtered out.
The stat line at the top of the results section tells you how many elements were found and how many specks were filtered. This is helpful feedback while you are adjusting the slider. If you are getting too many specks, slide the minimum size up. If you are missing small legitimate elements, slide it down.
Adding Padding to Extracted Elements
The Padding slider adds empty transparent space around each extracted element before it is cropped.
By default, elements are cropped very tightly to the edge of the artwork. This is efficient but sometimes creates problems when you use the element in a design, because design programs often add effects like shadows or glows that need some breathing room around the edges.
Adding a few pixels of padding ensures that effects do not get clipped. A padding value of 4 to 8 pixels is a reasonable starting point for most use cases. If you plan to use the elements with heavy shadows or blurs, go higher.
Reading the Stat Line
Between the preview image and the results grid, there is a single line of information that summarizes what the tool found. It tells you:
This line updates every time you change a setting and the tool re-processes the image. Watch it while adjusting your controls to understand what effect each change is having.
Working With the Results Grid
Once processing is complete, your extracted elements appear in the results grid as individual thumbnail cards. Each card shows:
The checkered background: The checkered gray and white pattern is the standard way to display transparent areas in image editing. It shows you exactly what is transparent and what is actual artwork. Clean extractions look sharp against this pattern. Fringe or leftover background color shows up obviously, so you can see immediately if an adjustment is needed.
Selecting and deselecting: Each element has a checkbox. Checked elements are included in the ZIP download. Unchecked elements are excluded. If a sheet has 40 elements but you only want 12 of them, just uncheck the 28 you do not need before downloading.
Select all and deselect all: The button above the grid toggles between selecting everything and deselecting everything. This is the fast way to reset your selection if you have been picking and choosing and want to start over.
Individual downloads: The download icon on each card saves just that one element as a PNG file. Use this when you only need one or two specific elements and do not need the full ZIP.
Adjusting the Grid Display Size
The Element Size slider changes how large the thumbnail cards appear in the grid. It does not affect the actual exported files at all. It only changes how big the previews look on your screen.
Slide it up if you are working with detailed elements and want to see them clearly. Slide it down if you have a large batch of elements and want to see more of them at once without scrolling.
The Dark Background Toggle
By default, the results grid shows elements on the standard checkered transparent pattern. The dark background button switches the preview to a dark solid background instead. This makes it easier to see any edges that need to be cleaned up.
This is extremely useful because some light-colored clipart (white details, light yellows, pale pinks) is nearly invisible against the checkered pattern but shows up clearly on a dark background. Toggle it on whenever you need to see if lighter elements extracted cleanly.
Hiding and Showing Tips
The control panel includes descriptive tip text under each setting that explains what it does. This is helpful when you are learning the tool.
Once you know what everything does, those tips take up vertical space in the panel. The “Hide tips” button collapses all the tip text and makes the control panel significantly shorter, which keeps more controls visible at once. Click “Show tips” to bring them back.
Downloading Your Elements
Once you are happy with the results and your selection checkboxes are set the way you want, you have two options for downloading.
ZIP download: The “Download ZIP” button (or similar) packages all selected elements into a single ZIP file and downloads it to your computer. Open the ZIP and you will find all your individual PNG files named element-01.png, element-02.png, and so on.
Individual downloads: Use the download icon on each card to save specific elements one at a time without downloading the full batch.
Tips for Getting the Best Results
A few practices make a consistent difference in how cleanly Sheet2PNG extracts elements.
Start with high-quality source images. Low-resolution or heavily compressed JPEG sheets produce fuzzier edges and more extraction artifacts. PNG source files give the cleanest results. If your only option is a JPEG, use the highest resolution version available.
Use defringe on colored backgrounds. If your sheet background is anything other than pure white or transparent, enable defringe every time. The difference in edge quality is significant.
Adjust minimum size before worrying about anything else. If your results are cluttered with tiny specks, the minimum size slider fixes that immediately and makes the rest of your adjustments easier to evaluate.
Use pocket clearing for complex artwork. Letters, wreaths, rings, frames, and any enclosed designs need pocket clearing. Leave it off for simple shapes.
Try the eyedropper before giving up on a tricky sheet. If auto-detection is not finding the right background, click the eyedropper and manually pick the background color from the image. This resolves most background-detection problems instantly.
Add a little padding if you plan to add effects. Four to eight pixels of transparent padding around each element gives design software room to render shadows, glows, and outlines without clipping them.
Frequently Asked Questions
Does Sheet2PNG upload my images anywhere?
No. The tool runs entirely in your browser using JavaScript. Your images never leave your computer. This is true even if you are using it while connected to the internet. The processing happens locally, which also means it works offline.
What image formats does it accept?
PNG, JPG/JPEG, WebP, and GIF files are all supported.
Will it work on a clipart sheet with a transparent background?
Yes. If the sheet already has transparency, the tool detects that and works with the existing transparent areas.
Can I use it on a sheet where elements are touching each other?
This is the hardest case for any extraction tool. If elements are physically overlapping or touching, the tool may detect them as a single element rather than two separate ones. Results vary depending on how much contrast there is between the elements. Sheets where elements have clear space between them extract most reliably.
The elements look fine in the grid but have a halo when I use them in my project. What do I do?
Enable the defringe option and re-process. A visible halo usually means fringe pixels from the original background are still attached to the edges of the extracted element. Defringe is designed specifically to handle this.
Some of my elements are being split into multiple pieces. Why?
This happens when an element has interior gaps or very thin connectors between its parts. The tool sees each visually separate region as a distinct element. Try lowering the minimum size threshold and adjusting the pocket clearing settings to see if that improves the detection.
I only want a few of the elements on the sheet. Do I have to download all of them?
No. Use the checkboxes on each thumbnail card to select only the elements you want. The ZIP download includes only the checked elements.
Who Sheet2PNG Is Built For
This tool is particularly useful for:
Getting Started Right Now
Sheet2PNG is free, requires no account, and is available directly on the Elevated Printables site. You don’t need to download or install anything.
Open the tool, drop in your clipart sheet, and let it work. Most sheets process in a few seconds. Adjust the controls if the initial result needs refinement, select the elements you want, and download. With a bit of practice, you’ll know what settings to use and your productivity will soar.