Creative Minds 𖹭 Happy Hearts

Building a Model of the Human Skeleton, Craft Stick and Cotton Swab Lab
Marshmallows as joints, cotton swabs as bones: building a model of the human skeleton turns anatomy vocabulary into something your student can hold in their hands.
Building a model of the human skeleton guides students through identifying and assembling major bones including the skull, rib cage, spine, arms, and legs using craft sticks, cotton swabs, toothpicks, and small marshmallows or foam balls. The sheet walks students from a written hypothesis through a nine-step procedure, then asks them to label key bones with paper tags and a marker. It suits grades 3 to 5 and fits naturally into a human body unit study.
The observations section prompts students to reflect on which bones were easy to build, which were difficult, and what they would change, building the habit of honest scientific reflection rather than just following steps. Conclusion questions ask students to explain three functions of the skeleton and describe how bones and joints work together, so by the end your homeschooler is articulating anatomy concepts in their own words, not just repeating definitions.
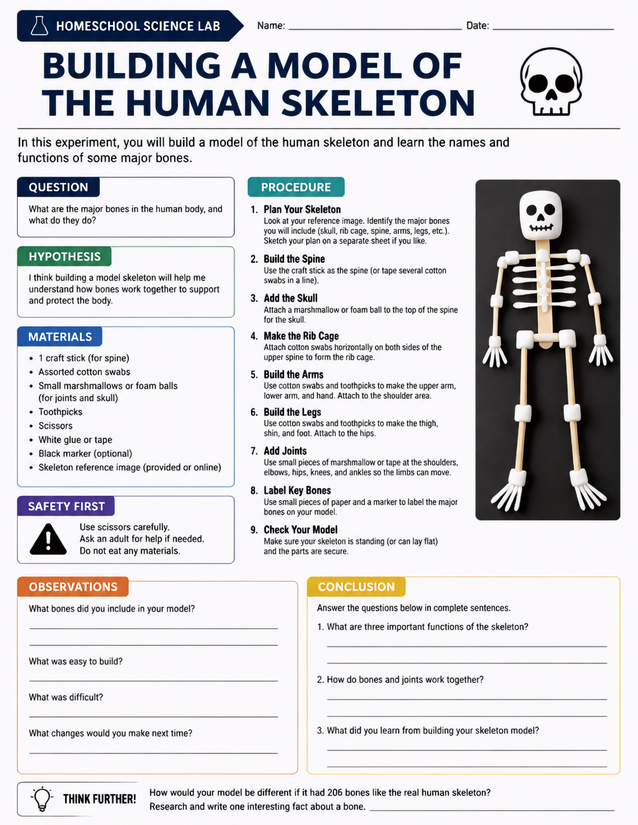
Grades 3 to 5 will love building a model of the human skeleton using marshmallows, cotton swabs, and craft sticks. Download and print instantly.
Recording Results for Building a Model of the Human Skeleton

Usage Notes
Almost every supply on the list is already in a homeschool craft bin: craft sticks, cotton swabs, small marshmallows or foam balls, toothpicks, white glue or tape, and a black marker. Scissors are the one tool that calls for adult supervision, and the safety note on the sheet specifically reminds students not to eat any materials, worth a quick reminder before you start.

Printing Tips
Twenty-four pound paper gives students a sturdy writing surface when they are gluing and labeling at the same desk. Print one copy per student and slip it into a science binder after the model dries, or use a clipboard during the build so the sheet stays flat while hands are busy.