Creative Minds 𖹭 Happy Hearts

Building a Model of the Kidneys and Filtration System
Red water, sand, and rice passing through a coffee filter, building a model of the kidneys has never been this concrete or this easy to set up on a kitchen counter.
Building a model of the kidneys anchors an abstract organ system to something your student can actually see happening in real time. The sheet walks grades 5 to 7 through a six-step procedure using a funnel, coffee filter, sand, rice, and red food coloring to represent blood entering the kidney, waste being trapped, and filtered liquid collecting below. Three observation prompts ask what stayed in the filter, what passed through, and what the bottom-cup liquid represents, so your homeschooler records findings before moving to analysis.
The five analysis questions push past observation into reasoning, asking students to explain why sand and rice behaved differently and to map each model component onto a real kidney structure. This lab fits naturally into a body systems unit study or a standalone lesson on excretory function, and a fun fact at the bottom noting that kidneys filter about 180 liters of fluid daily gives your student a memorable anchor for the concept. Completing the sheet demonstrates both procedural science skills and the ability to connect a physical model to biological function.
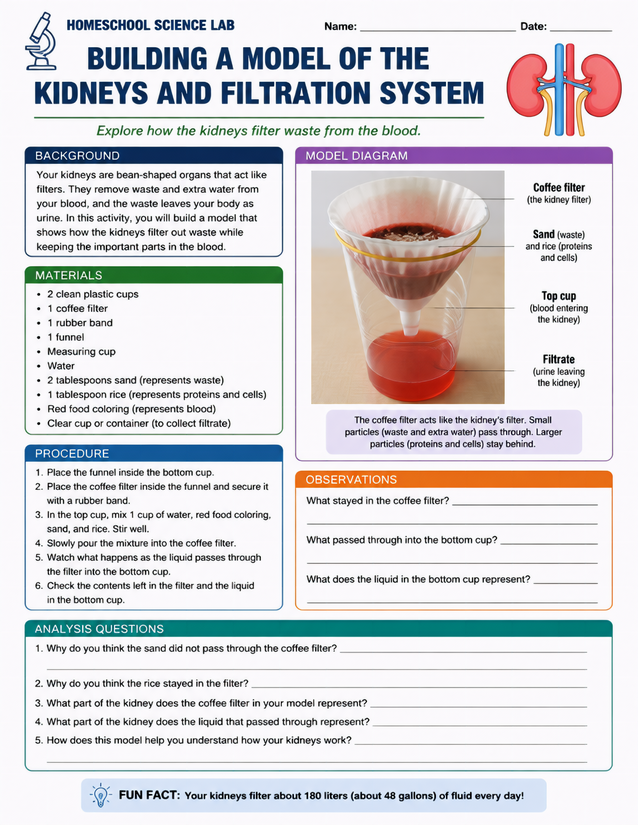
Grades 5 to 7 homeschoolers explore kidney filtration by building a model of the kidneys using a coffee filter, sand, rice, and red food coloring.
Investigating Building a Model of the Kidneys Step by Step

Usage Notes
Everything on the materials list is a household or grocery store item: plastic cups, a funnel, a coffee filter, a rubber band, sand, rice, red food coloring, and water. No specialty supplies are needed, which makes this one of the lower-barrier labs in a body systems unit. Red food coloring will stain fabric and some countertops, so lay down a sheet of scrap paper or do the pouring step over the sink.

Printing Tips
A standard sheet clipped to a clipboard keeps it stable while your student pours and observes without worrying about a lab notebook getting splashed. If you want to reuse the observation section for a second trial, laminate just the top half and have students write with a dry-erase marker, then print fresh analysis pages for written responses.