Creative Minds 𖹭 Happy Hearts

Making a Homemade Lava Lamp, Density and Chemical Reactions
Colored water blobs rising and sinking through oil, making a homemade lava lamp is the kind of experiment your student will want to repeat three times before lunch.
Making a homemade lava lamp anchors a hands-on lesson in density and chemical reactions for grades 3 to 6. The sheet walks your student through filling a bottle with water, layering vegetable oil on top, and dropping broken antacid tablet pieces to trigger carbon dioxide bubbles that carry colored water droplets upward. A Predict section asks students to write a hypothesis before they begin, and Results prompts record what happened and what was learned, giving your homeschooler structured scientific reasoning practice alongside the visual spectacle.
This lab fits naturally into a unit study on chemistry, states of matter, or physical properties of liquids, and it works as a standalone one-session lesson with no lead time or advance prep. The Challenge section pushes further by asking students to vary water volume, oil volume, food coloring amount, or tablet size, making making a homemade lava lamp extendable into a multi-day comparative experiment for older students ready to test one variable at a time.
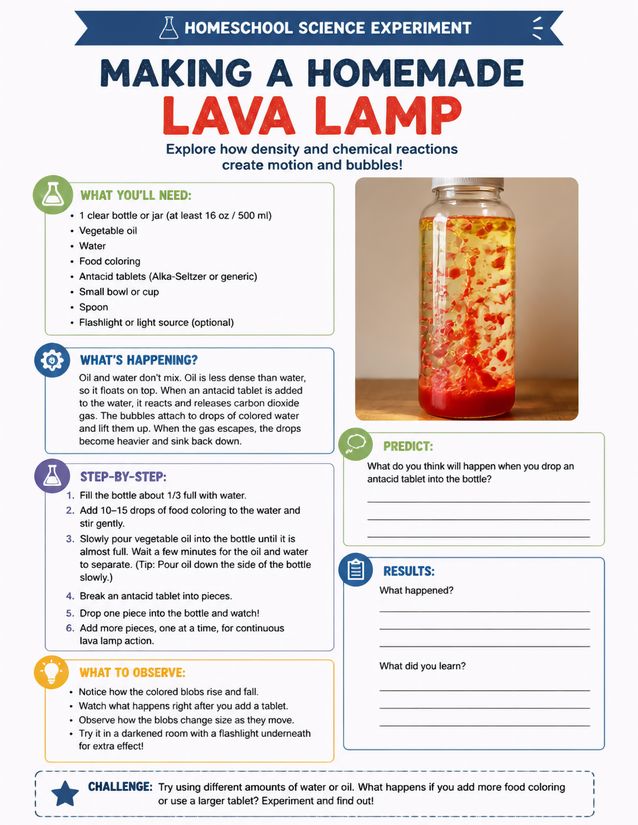
Grades 3-6 homeschool science: making a homemade lava lamp teaches density and chemical reactions using five common household supplies.
Recording Results for Making a Homemade Lava Lamp

Usage Notes
Vegetable oil, water, food coloring, and antacid tablets such as Alka-Seltzer are the core supplies, all standard household or grocery store items. A clear bottle or jar of at least 16 oz is needed so students can observe the blobs rising and falling through the full column of liquid. Antacid tablets are safe for this age range, but the sheet recommends adding tablet pieces one at a time, which is a good habit to reinforce before your student starts dropping in handfuls.

Printing Tips
Standard 20-pound copy paper handles the writing sections fine, but 24-pound paper holds up better if the sheet gets splashed near the experiment. Loose on a clipboard keeps it accessible during the build, or punch holes and file it directly into your science lab notebook once results are complete.