Creative Minds 𖹭 Happy Hearts

Making a Model of the Ear with Paper Cups and String
Two paper cups and ten feet of string are all it takes. Making a model of the ear turns a quiet kitchen table into a working demonstration of how sound vibrations reach the brain.
Making a model of the ear with paper cups and string gives grades 2-5 students a concrete way to understand how sound travels from source to receiver. The sheet walks through a seven-step procedure, from poking a hole in each cup to holding the string taut and listening, then asks students to explain why a loose string makes the sound harder to hear. Four reflection questions push past the activity itself and ask students to compare the cup telephone to the outer, middle, and inner ear.
This lab fits naturally into a unit study on the senses or a broader sound and waves sequence. It works as a standalone hands-on session or as an entry point before introducing the anatomy of the ear in more detail. A bonus prompt asks students to swap cup materials and record what changes, giving your homeschooler a simple variable-testing extension without any additional prep on your part.
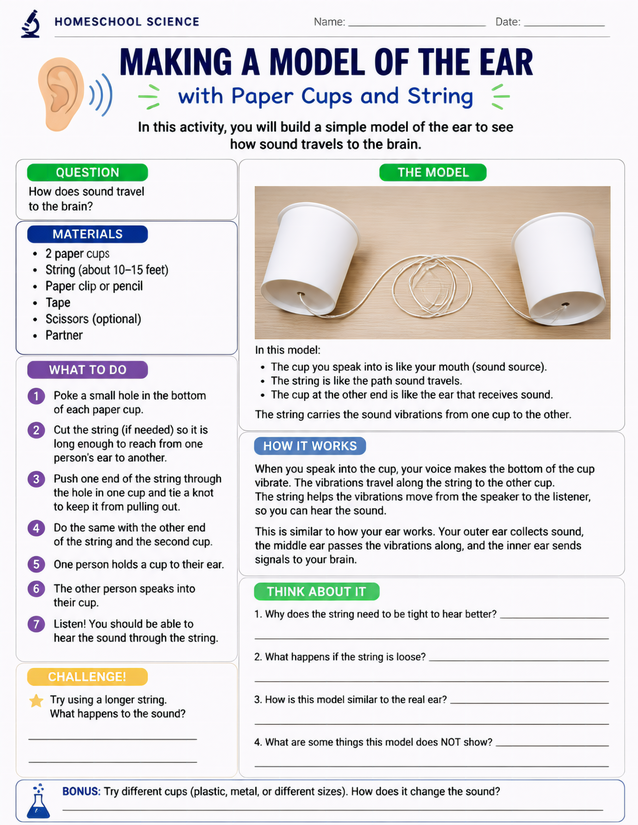
Grades 2-5 homeschoolers explore how sound travels by making a model of the ear using paper cups and string.
Getting Started with Making a Model of the Ear

Usage Notes
Every material on the list is a household item. Two paper cups, string cut to ten or fifteen feet, a paper clip or pencil for knotting, tape, and scissors are all you need. No open flames or chemicals are involved, though scissors should be supervised for younger students.

Printing Tips
Copy paper at 20-24 lb works fine here since students are writing short answers rather than pressing hard with graphite. A loose sheet on a clipboard keeps it easy to hold while one student speaks and another listens, which is exactly how the activity runs.