Creative Minds 𖹭 Happy Hearts

Making a Model of the Musculoskeletal System, Grades 5-8
Craft sticks become bones, yarn becomes muscles, and brass fasteners become joints when your student starts making a model of the musculoskeletal system that actually moves when you pull the strings.
Making a model of the musculoskeletal system asks upper elementary and middle school students, roughly grades 5 through 8, to build a working arm model that demonstrates how bones, muscles, and joints cooperate to produce movement. Students work through a six-step procedure: planning a body part to model, connecting craft stick bones at brass-fastener joints, attaching yarn muscles on each side of those joints, testing the movement by pulling each string, labeling every part, and then sketching or photographing the finished model. The observation section prompts written reflection on what happened when each muscle string was pulled and which muscle had to relax while the other contracted, turning a hands-on build into a written record of force and opposition.
This lab fits naturally into a life science unit study on the human body, sitting alongside lessons on the skeleton, muscle types, or joint anatomy for grades 5-8 homeschoolers. It works as a standalone 60-90 minute session or as the culminating activity after reading-based instruction, giving your student a concrete way to demonstrate the antagonistic muscle relationship. The Think Further prompt, which asks how the model would change with more joints or muscles, pushes the experiment into a second iteration and supports Charlotte Mason-style narration or notebooking follow-up.
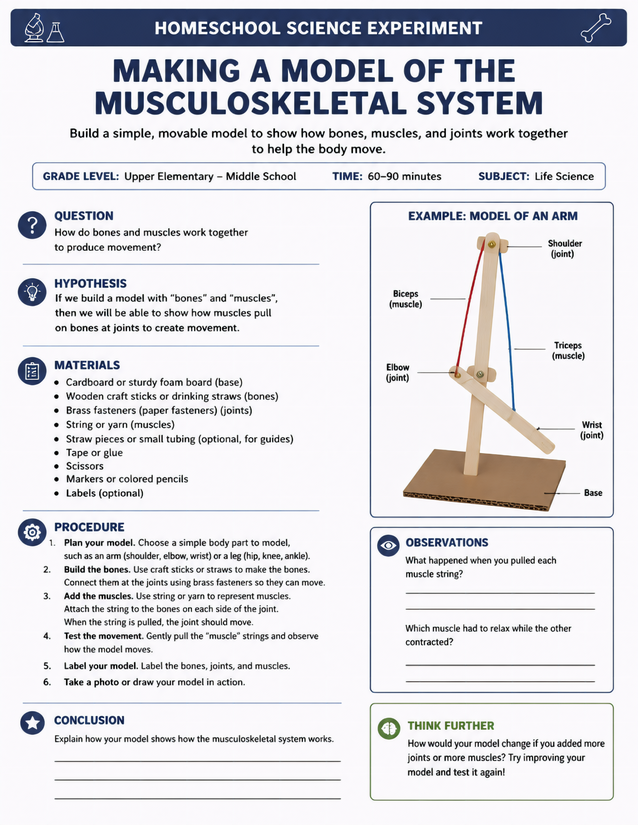
Upper elementary and middle school homeschoolers spend 60-90 minutes making a model of the musculoskeletal system using craft sticks, brass fasteners, and yarn.
Investigating Making a Model of the Musculoskeletal System

Usage Notes
Cardboard or foam board, wooden craft sticks, brass paper fasteners, string or yarn, scissors, tape or glue, and markers are the core supplies here, and nearly all of them are household staples. Straw pieces listed as optional guides for the yarn are easy to skip. Scissors are required for cutting yarn and trimming craft sticks, so supervise younger students accordingly.

Printing Tips
A single loose sheet on a clipboard keeps the lab instructions visible while your student builds at the table, with room to jot observations in the two dedicated fields without worrying about a notebook spine getting in the way. At least 24 lb paper is worth it here since students write directly on the sheet during the experiment.