Creative Minds 𖹭 Happy Hearts

Making a Model of the Solar System, Scaled with Craft Materials
Foam balls, paint, and a black poster board turn an abstract concept into something your student can actually hold. Making a model of the solar system puts planet order and relative size in their hands, not just their notes.
This lab sheet walks grades 3-6 homeschoolers through making a model of the solar system using foam balls or clay, wooden skewers, paint, and a black poster board base. Students research planet order, choose a scale (the sheet suggests 1 cm equals roughly 1,000 km), paint each planet to size, mount them on skewers, and arrange the finished model from Sun to Neptune. The observations section asks which planet was largest, which was smallest, and how the physical model changed their understanding of the solar system.
Making a model of the solar system fits naturally into an astronomy unit study or a broader solar system sequence covering planet characteristics, orbital distance, and comparative size. Your student demonstrates scientific thinking by writing a hypothesis, identifying variables (scale, materials, planet order), and evaluating that hypothesis in the conclusion. The sheet stands alone as a single hands-on session or anchors a multi-day unit where additional research, planet fact cards, or scale distance activities extend the learning.
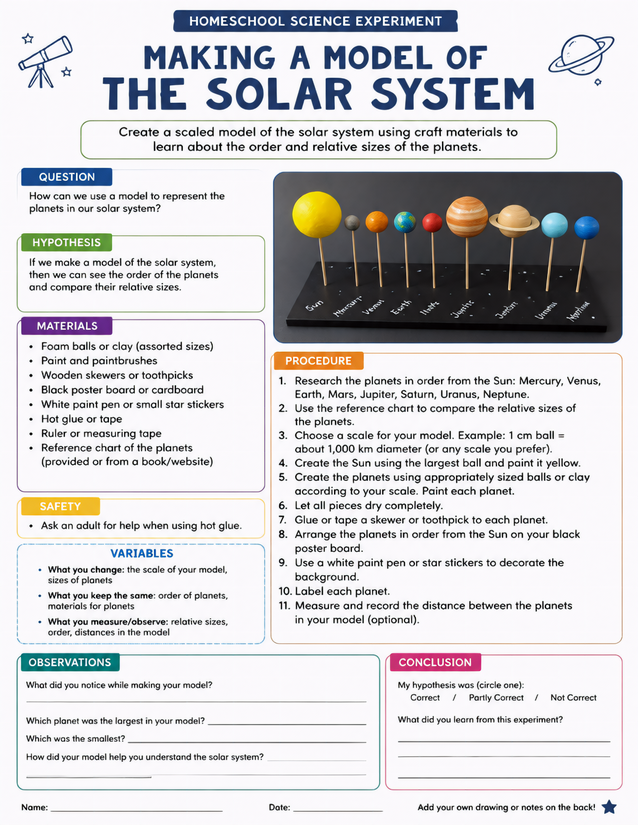
Grades 3-6 homeschoolers learn planet order and relative sizes by making a model of the solar system with foam balls and paint.
Getting Started with Making a Model of the Solar System

Usage Notes
Most supplies here are household or easily sourced craft store items: foam balls in assorted sizes, paint, wooden skewers or toothpicks, hot glue or tape, and black poster board. A reference chart for planet sizes is needed and can come from a book or website. Adult supervision is specifically noted for hot glue use, so have that conversation with your student before the build session begins.

Printing Tips
Print on standard 8.5×11 copy paper and keep it loose on a clipboard during the build so your student can reference the procedure and jot observations without losing the sheet under craft supplies. Laminating is not recommended here since the observations and conclusion sections need to be written on.