Creative Minds 𖹭 Happy Hearts

Making a Rain Gauge Lab Sheet, Daily Rainfall Tracking
A two-liter soda bottle becomes a working rain gauge in five steps. Making a rain gauge lab sheet gives your student a full month of real weather data to analyze.
Your student builds a functional rain gauge from a clear plastic bottle, ruler, permanent marker, and tape, then records daily rainfall in millimeters across a 31-day data table. The sheet walks through cutting the bottle, inverting the top as a funnel, marking a millimeter scale, and placing the gauge outdoors level and away from obstructions. Reflection questions at the end ask which day had the most rain, which had none, and how this month compared to expectations, making it a complete observational record for grades 3-6.
This making a rain gauge lab sheet works well as the centerpiece of a weather unit study, pairing naturally with barometer and wind direction activities your homeschooler may already be running alongside it. Completed alone, it demonstrates that your student can design a data collection tool, maintain a consistent measurement routine over time, and draw basic conclusions from a month-long dataset. The notes and observations box leaves room for sketches or written reflections that Charlotte Mason-style learners can expand into a nature journal entry.
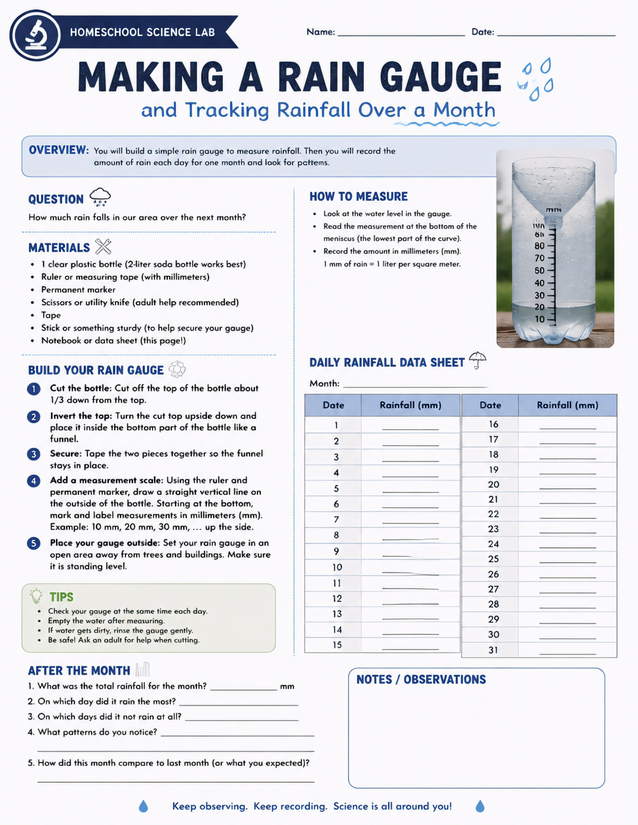
Record a full month of rainfall data with this making a rain gauge lab sheet, designed for grades 3-6 homeschoolers studying weather patterns.
Getting Started with Making a Rain Gauge Lab Sheet

Usage Notes
Nearly everything on the materials list is already in the house: a two-liter soda bottle, ruler, permanent marker, tape, and a sturdy stick. Scissors or a utility knife are needed to cut the bottle, and the sheet explicitly recommends adult help for that step, so plan to be hands-on at that stage.

Printing Tips
Twenty-four-pound paper handles a month of daily pencil entries without ghosting through. Slide it into a sheet protector inside a lab notebook so it stays flat and dry if your student checks it alongside the outdoor gauge each morning.