Creative Minds 𖹭 Happy Hearts

Making Homemade Butter Science Experiment Lab Sheet
One jar, one pint of cream, and some serious arm effort: this making homemade butter science experiment turns a kitchen staple into a hands-on chemistry lesson your student will not forget.
Your student asks a genuine scientific question right at the top of the sheet: can you turn cream into butter just by shaking it? From there, they write a hypothesis, gather a short materials list (heavy whipping cream, a glass jar with a tight lid, a bowl, a spoon, and optional salt and a fine mesh strainer), and work through a ten-step procedure. A timed observation table asks them to record what they see at the start, after five minutes, after ten minutes, and at the end, giving grades 2-5 homeschoolers structured practice in noticing change over time. A brief science explanation at the bottom explains fat globules and buttermilk in plain, memorable language.
This making homemade butter science experiment works beautifully as a standalone lesson or tucked into a unit study on matter and physical change, farm-to-table food science, or simple chemistry. Completing the sheet asks your student to connect a physical action (shaking) to a state change (liquid cream to solid butter), check their hypothesis against real results, and articulate what they learned in their own words. No specialty equipment required, and the whole experiment runs in under thirty minutes.
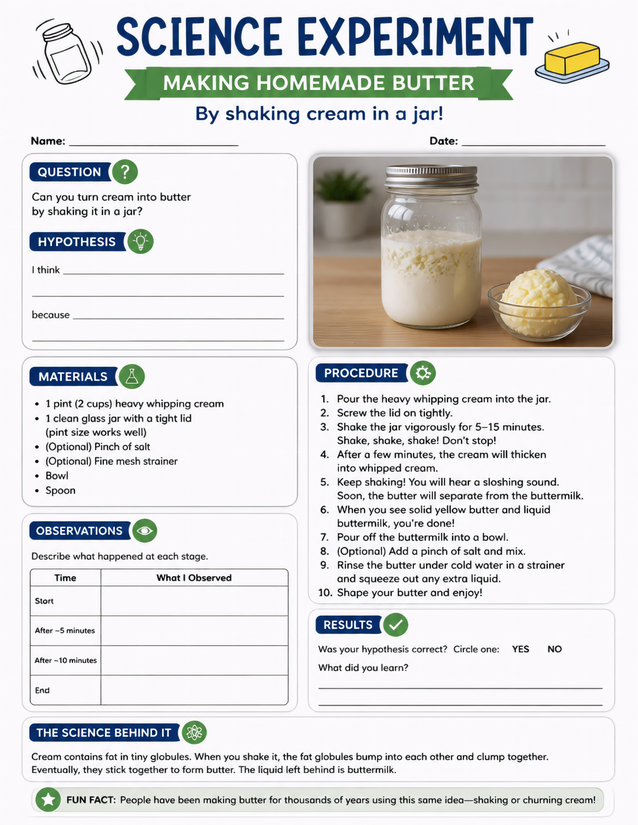
Shake cream into butter with this making homemade butter science experiment, ideal for grades 2-5 homeschoolers. Instant download.
Exploring Making Homemade Butter Science Experiment Results

Usage Notes
Every material on this sheet is a standard household item. Heavy whipping cream, a pint-size glass jar with a tight lid, a bowl, and a spoon are all you need to run the core experiment. Salt and a fine mesh strainer are marked optional, and no heat source is required, so safety concerns are minimal for this age group.

Printing Tips
Slip a single copy on a clipboard so your student can record observations table entries while their arms are still shaking the jar. Standard 20-pound copy paper works fine here, though 24-pound holds up better if little hands are writing between vigorous shaking sessions.