Creative Minds 𖹭 Happy Hearts

Observing the Properties of Different Types of Rocks
Granite feels different from sandstone, and a streak plate proves it. Recording the properties of different types of rocks side by side is where rock classification actually clicks for your student.
This lab sheet walks grades 3-6 students through a structured comparison of three to six rock samples, testing each one for color, texture, luster, streak color, hardness by scratch test, and water absorption. The data table gives your student a row for each rock and a column for each property, so patterns emerge visually once the table is filled in. Five analysis questions push beyond the data, asking which rock was hardest, which absorbed water, and how these properties might identify a rock in nature.
The properties of different types of rocks experiment fits naturally into an earth science unit study on the rock cycle or geology. Your homeschooler can complete it as a standalone lab or pair it with a lesson on igneous, sedimentary, and metamorphic rock formation. The Think Further prompt at the bottom of the sheet asks students to hypothesize which rock type each sample belongs to, giving you a natural bridge into the next lesson.
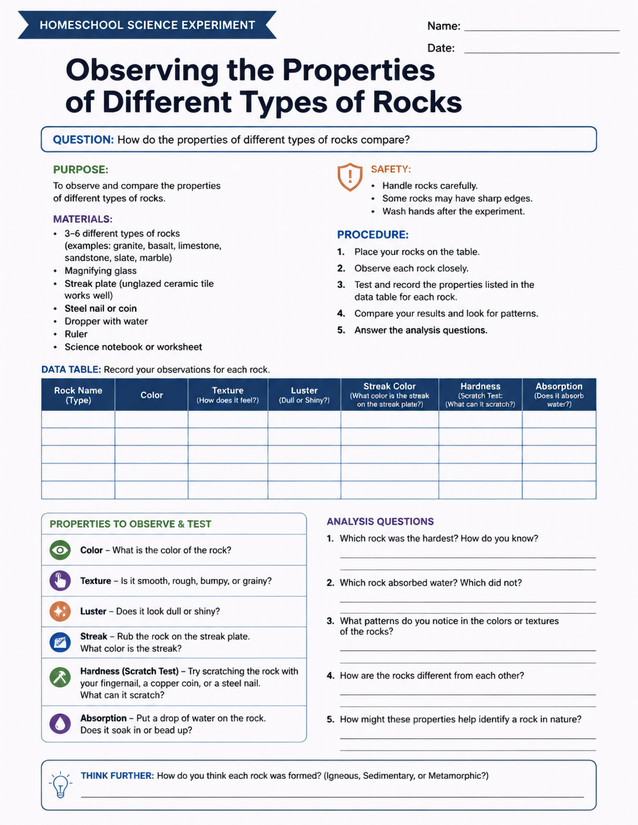
Compare the properties of different types of rocks with this hands-on homeschool lab sheet for grades 3-6. Includes a full data table.
Investigating the Properties of Different Types of Rocks at Home

Usage Notes
Most materials here are household or low-cost specialty items: 3-6 rock samples, a magnifying glass, a steel nail or coin, a dropper with water, a ruler, and an unglazed ceramic tile as a streak plate. The safety section explicitly notes that some rocks may have sharp edges, so remind your student to handle samples carefully and wash hands after testing.

Printing Tips
Card stock or standard 20 lb printer paper both hold up well for pencil entries in the data table. Slip the sheet into a lab notebook alongside a rock classification reference page, or keep it on a clipboard while your student works at the table with samples spread out.